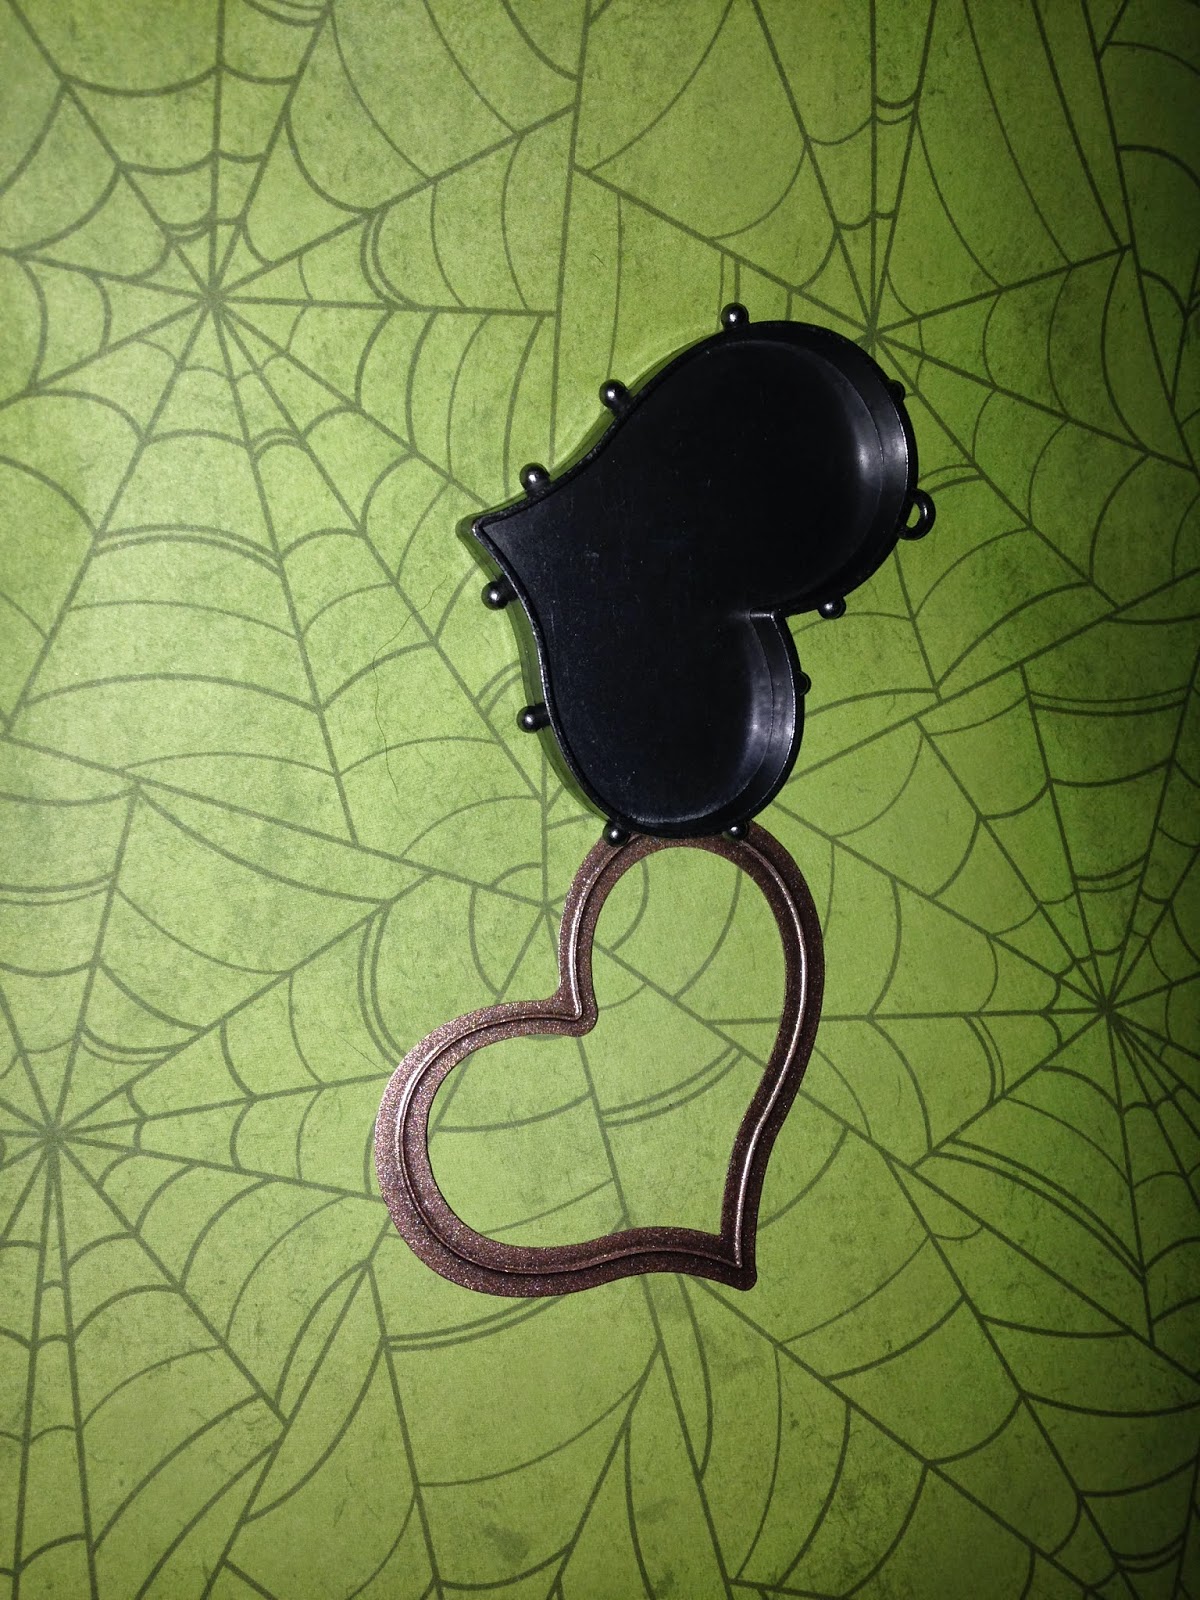
Halloween Heart Pendant!
Last
night I decided to make a pendant so I made sure all of my supplies and tools
were ready to go. Could it be that this challenge is improving my
organizational skills? Doubtful. My house looks like a craft store blew up in
it.
Supplies:
Scrapbook
paper
Halloween
rub-on transfers (I got mine at Target in the seasonal scrapbooking area)
Glossy
Accents™
Heart
pendant (I used a Susan Lenart Kazmer
bezel from Spellbinders)
Split
jump ring
Ball
chain
Tools:
Artisan
X-plorer crafting system by Spellbinders
Heart
die to match the bezel
Base
plate
Cutting
plate
Scissors
 |
| I needed these! |
Jewelry
pliers
The How:
I
was just barely awake when I started this project. I grabbed my scrapbook
paper and moved my heart die around until I liked the
placement. I cut out a rectangle larger than the die and made a “sandwich” with
my base plate, the face-up paper, the face-down die, and the top cutting plate.
I ran the sandwich through my X-plorer machine and put the perfectly-cut heart
with my supplies.
 |
| Opened sandwich, post cut. |
I
really recommend getting a machine of this sort if you are going to make a lot
of pendants. The years I spent cutting things out by hand seem like a silly
waste of time.
 |
| I needed these too... |
So
I got to work very early and decided
to use the time to get this pendant done. I assembled my supplies and got cracking.
.JPG) |
| Let's do this!!! |
I
went through each of the rub-on transfers in my supplies and this skeletal tree
just seemed to jump out at me. I cut around the design and removed the plastic
backing and positioned it in the desired spot. The kit I bought came with a
plastic rubbing tool. I used a lot of pressure to rub the transfer onto the
paper and held my breath when I lifted the plastic sheet…hooray! All of the
design transferred!
 |
| So glad the transfers all stuck! |
 |
| Looks good! |
Next,
I put a squiggle of Glossy Accents™ on the inside of the bezel and lay the
embellished heart face-up on it. I used the rubbing tool to smooth out any air
bubbles and let it dry for a few minutes.
 |
| More fun than watching glue dry! |
I
applied a layer of Glossy Accents over the entire paper surface, making sure to
avoid air bubbles. As the piece dried I kept an eye out for bubbles forming and
popped them with a pin.
 |
| Ta-dahhhh!!! |
Once
the gloss was dry, I opened a jump ring and attached it to the bezel’s ring and
then slid on a ball chain.
Eerie
and elegant and one-of-a-kind!
Comments
Post a Comment